- Home
- Replacement Artwork,logos,etc Available
- The Allwin Arcade
- Trade Stimulators
- The Strange & Unusual
- The Aristocrat Collection
- The Bally Collection
- The Bell-Fruit collection
- The BDR/BMR Collection
- The Bryans Collection
- The Buckley collection
- Caille Brothers Collection
- Working Models
- The Groetchen collection
- The Hawtin's Collection
- The Jamieson's Collection
- The Jennings collection
- The Mills Collection
- The NSM (Bingen) Collection
- The Oliver Whales Collection
- The Pace Collection
- The Parkers Collection
- The Rock-ola collection(slot machines)
- The Ruffler & Walker Collection
- The SEGA Collection
- the Shefras collection
- The TH.Bergmann Collection
- The Tom Boland collection
- The Watling collection
- The Whittaker Bros Collection
- the Wondermatics collection
- The Wulff Collection
- The Juke Box Age
- Coin Operated Cranes & Diggers
- Coin Operated Shooting Games
- Coin Operated Weight Scales
- slot machine coins & tokens for sale
- Amusement Arcades from the Past
- The British Seaside Pleasure Pier
- The Market Place
- Coin Operated Related Seaside Postcards
- See a Selection of the More Complex Machines at Work
- Stuart Dale's Imperator Rebuild
- Stuart Dale's Steam Shovel Project
- The "Allwin" Machine
- Useful Links
- The Rye Heritage Ctr Collection of Working Models
- Williamson's Vintage amusement arcades
- Contact Us
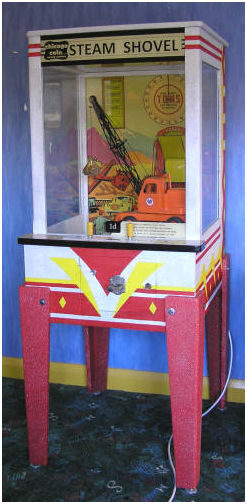
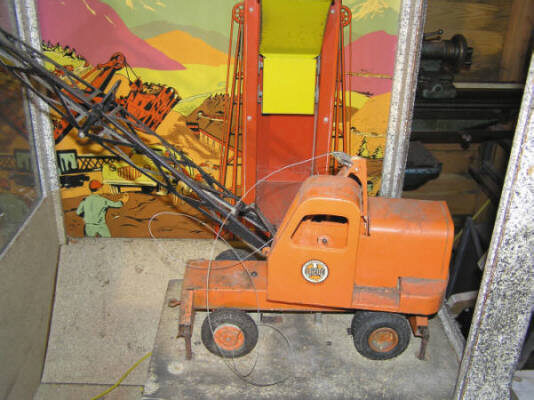
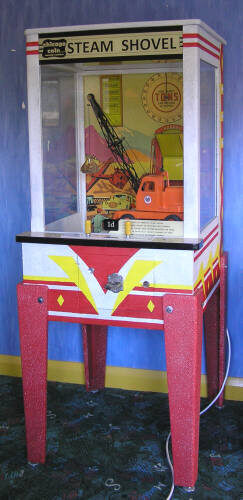
Stuart Dale's Chicago Coin Steam Shovel Project

I managed to buy myself a 1956 Chicago Coin Steam Shovel arcade
machine, this machine has been in storage for many years and although it looks
to be almost complete it has been home to a family of mice at some time, the mice were
no doubt attracted to the machine by the lentils that were left inside when it was put in
to storage, the mice also managed to chew away most of the lower wiring loom
and part of the mains transformer, I intend to put right This damage and
restore the machine back to working order.


This is how the machine looks before restoration in March 2009.
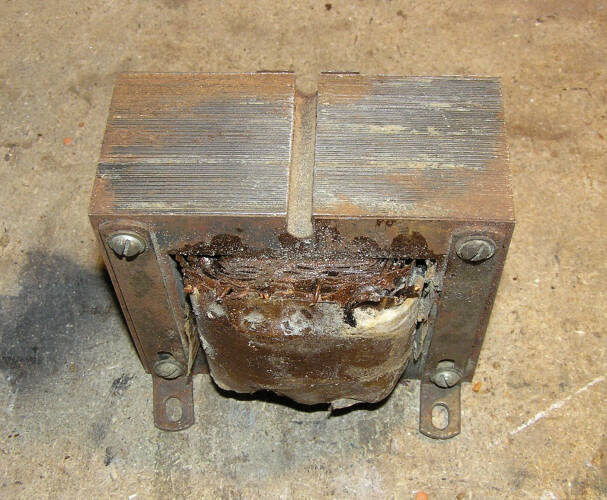
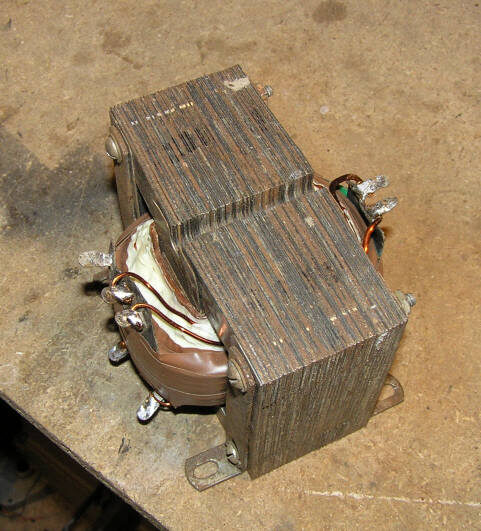
The Transformer Rewind
When I removed the mains transformer from the machine I found that the
previous tenants,a family of mice had eaten most of the outer insulation
and the fibreboard terminal strip, and it was clear that it was not safe to use.
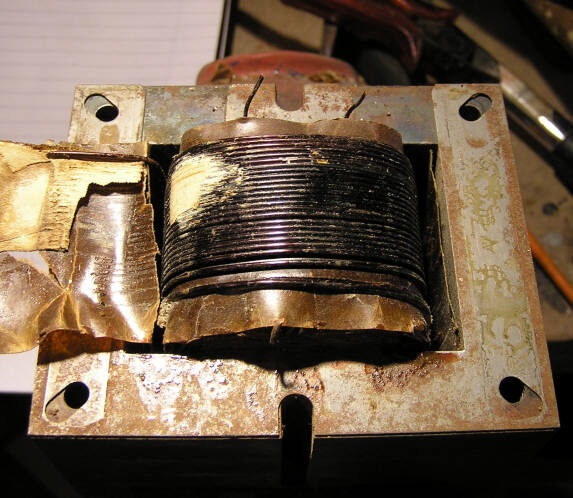
So I decided to strip down the transformer and try and rewind it myself, I striped
away the layers of wire one at a time, making a note of the number of turns on
each layer, I also measured the diameters of the three sizes of wires that were used
for each voltage layer, I managed to buy the correct size enamelled copper wire in 250g
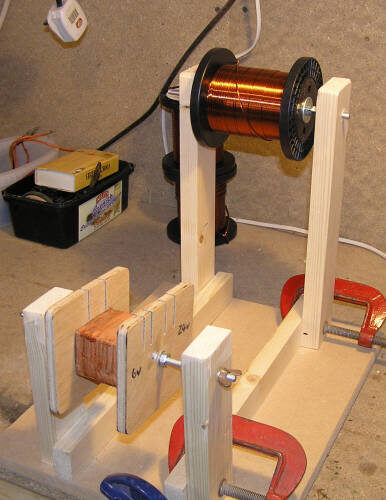
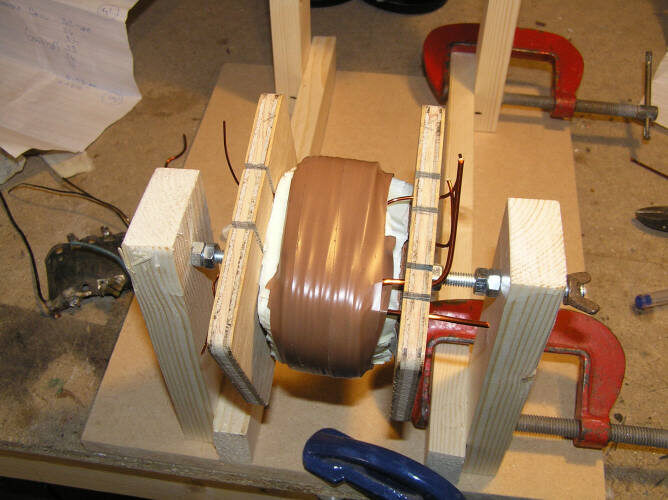
spools on the internet for about £20.00, and having constructed a simple wooden frame to
hold both the coil and the spool of wire I started to rewind the transformer layer by
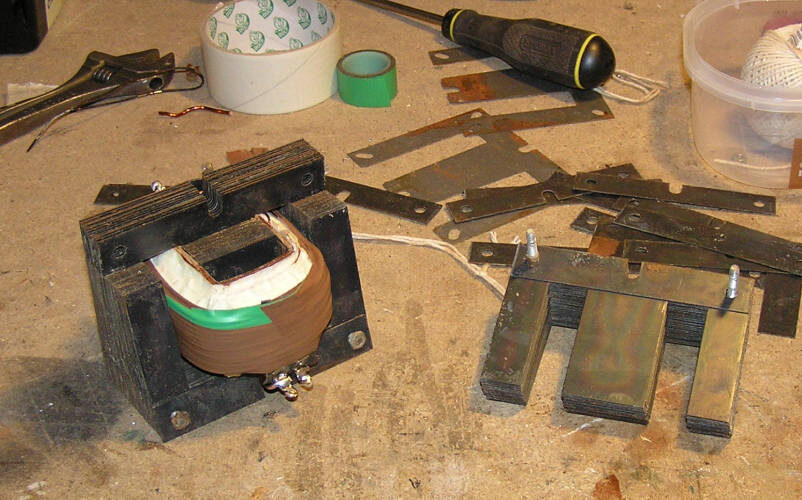
layer guided by the notes I made when I striped it down, next I refitted the iron laminates
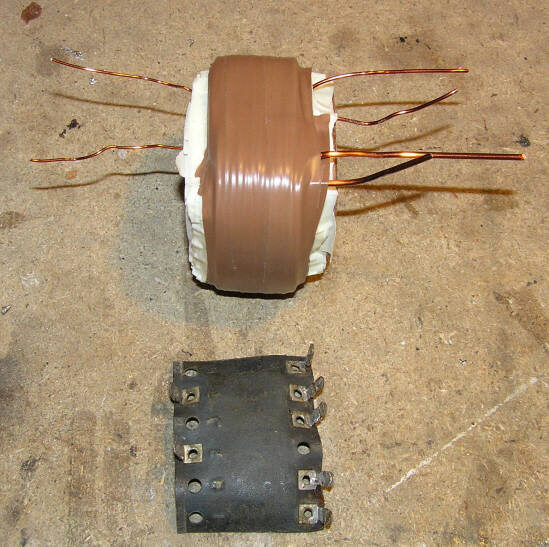
I found this to be most difficult part of the job, I finished the final layer off
with an old terminal strip taken from another old transformer. now that the construction
was complete and I had tested it with my meter I connected it to the mains supply
via an RCD, I was very happy to find that I had a working transformer that gave me the correct
output valtages for my machine. The whole job cost me about £20.00 and 5 hours work.
The Wiring Harness
As for the main wiring harness that lay in the bottom of the cabinet, it had suffered
badly from the ravages of man, mouse and time, it only consisted of about a dozen
wires and switches but I could not get an electrical connection along the length of
any of them, it was a mess. Thankfully I have been able to obtain a wiring diagram
thanks to the generosity of an American collector called Doug Mahar who emailed
me a copy taken from his machine. I removed the wiring harness from the machine
and with the aid of the drawing I set about making a new one from scratch.
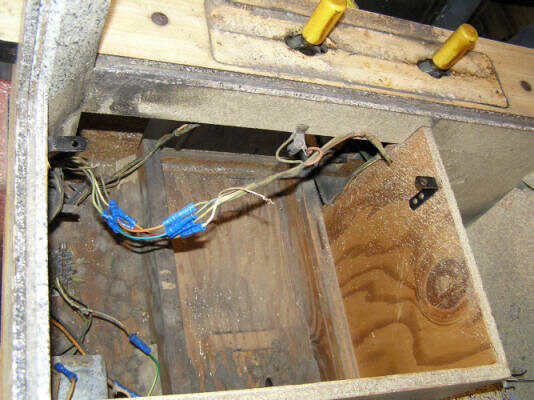
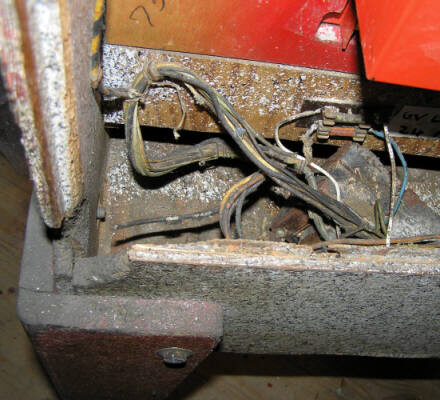

Old Wiring Harness
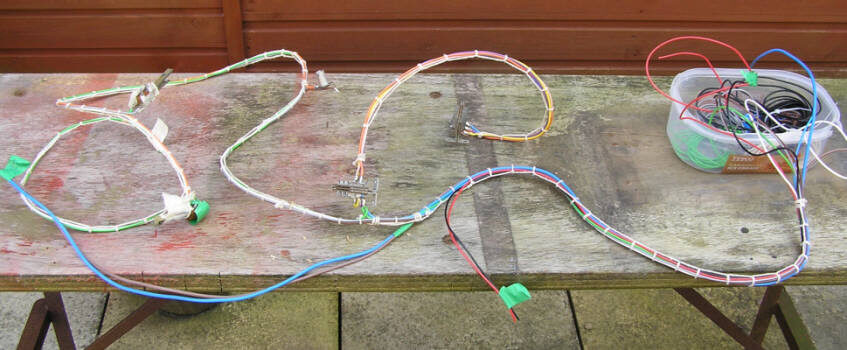
New Wiring Harness
As you can see from the above photos I have tried to keep to the old methods of harness
construction, I have used the lace system to hold the wires together as
this is more in keeping with the age of the machine, it also looks better than
modern plastic cable ties or insulation tape.
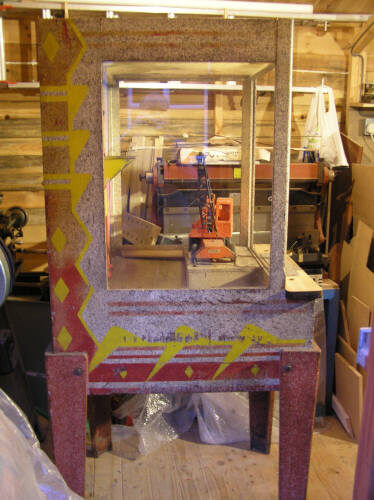
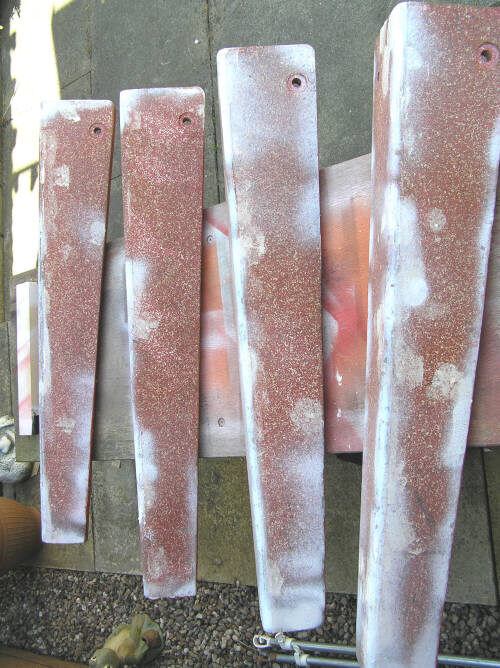
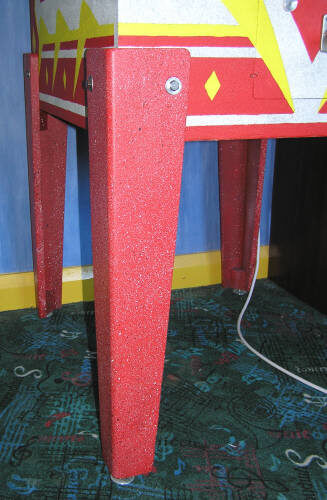
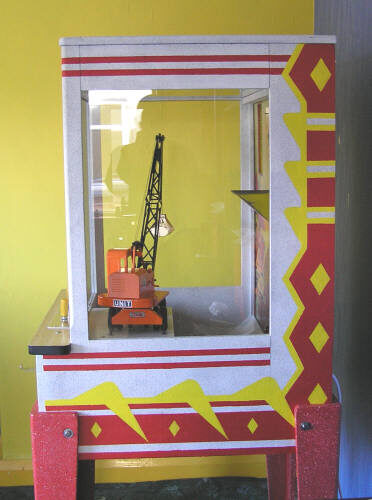
Scrubbed Up Nicely
Now that I have finally got rid of the smell of mice and made the necessary repairs to the
woodwork I have turned my attention to the artwork and general decor of my machine,
and having first made notes and taken lots of photos of what was left of the
original paintwork, I sanded and primed the whole of the cabinet and legs both inside and
out, the main cabinet was then given a coating of textured spay paint,then with the aid of a
small brush and some acrylic paints I set about repainting the artwork
on to the cabinet keeping as close to the original as possible, I finished the legs with a base coat
of red with a splattering of black and white to finish off.the whole thing was then given a
coat of clear spray finish, take a look at the photos and see the results.
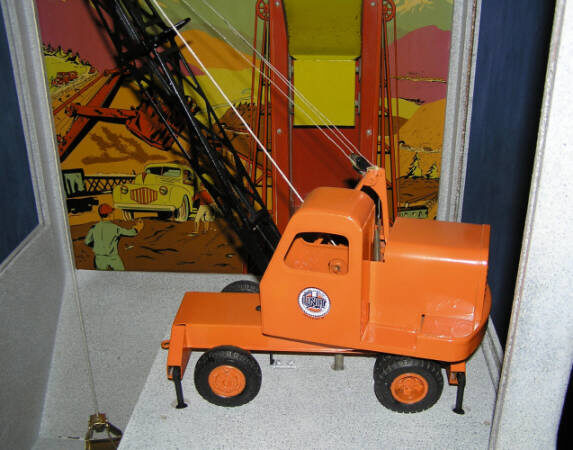
And now......In Action!